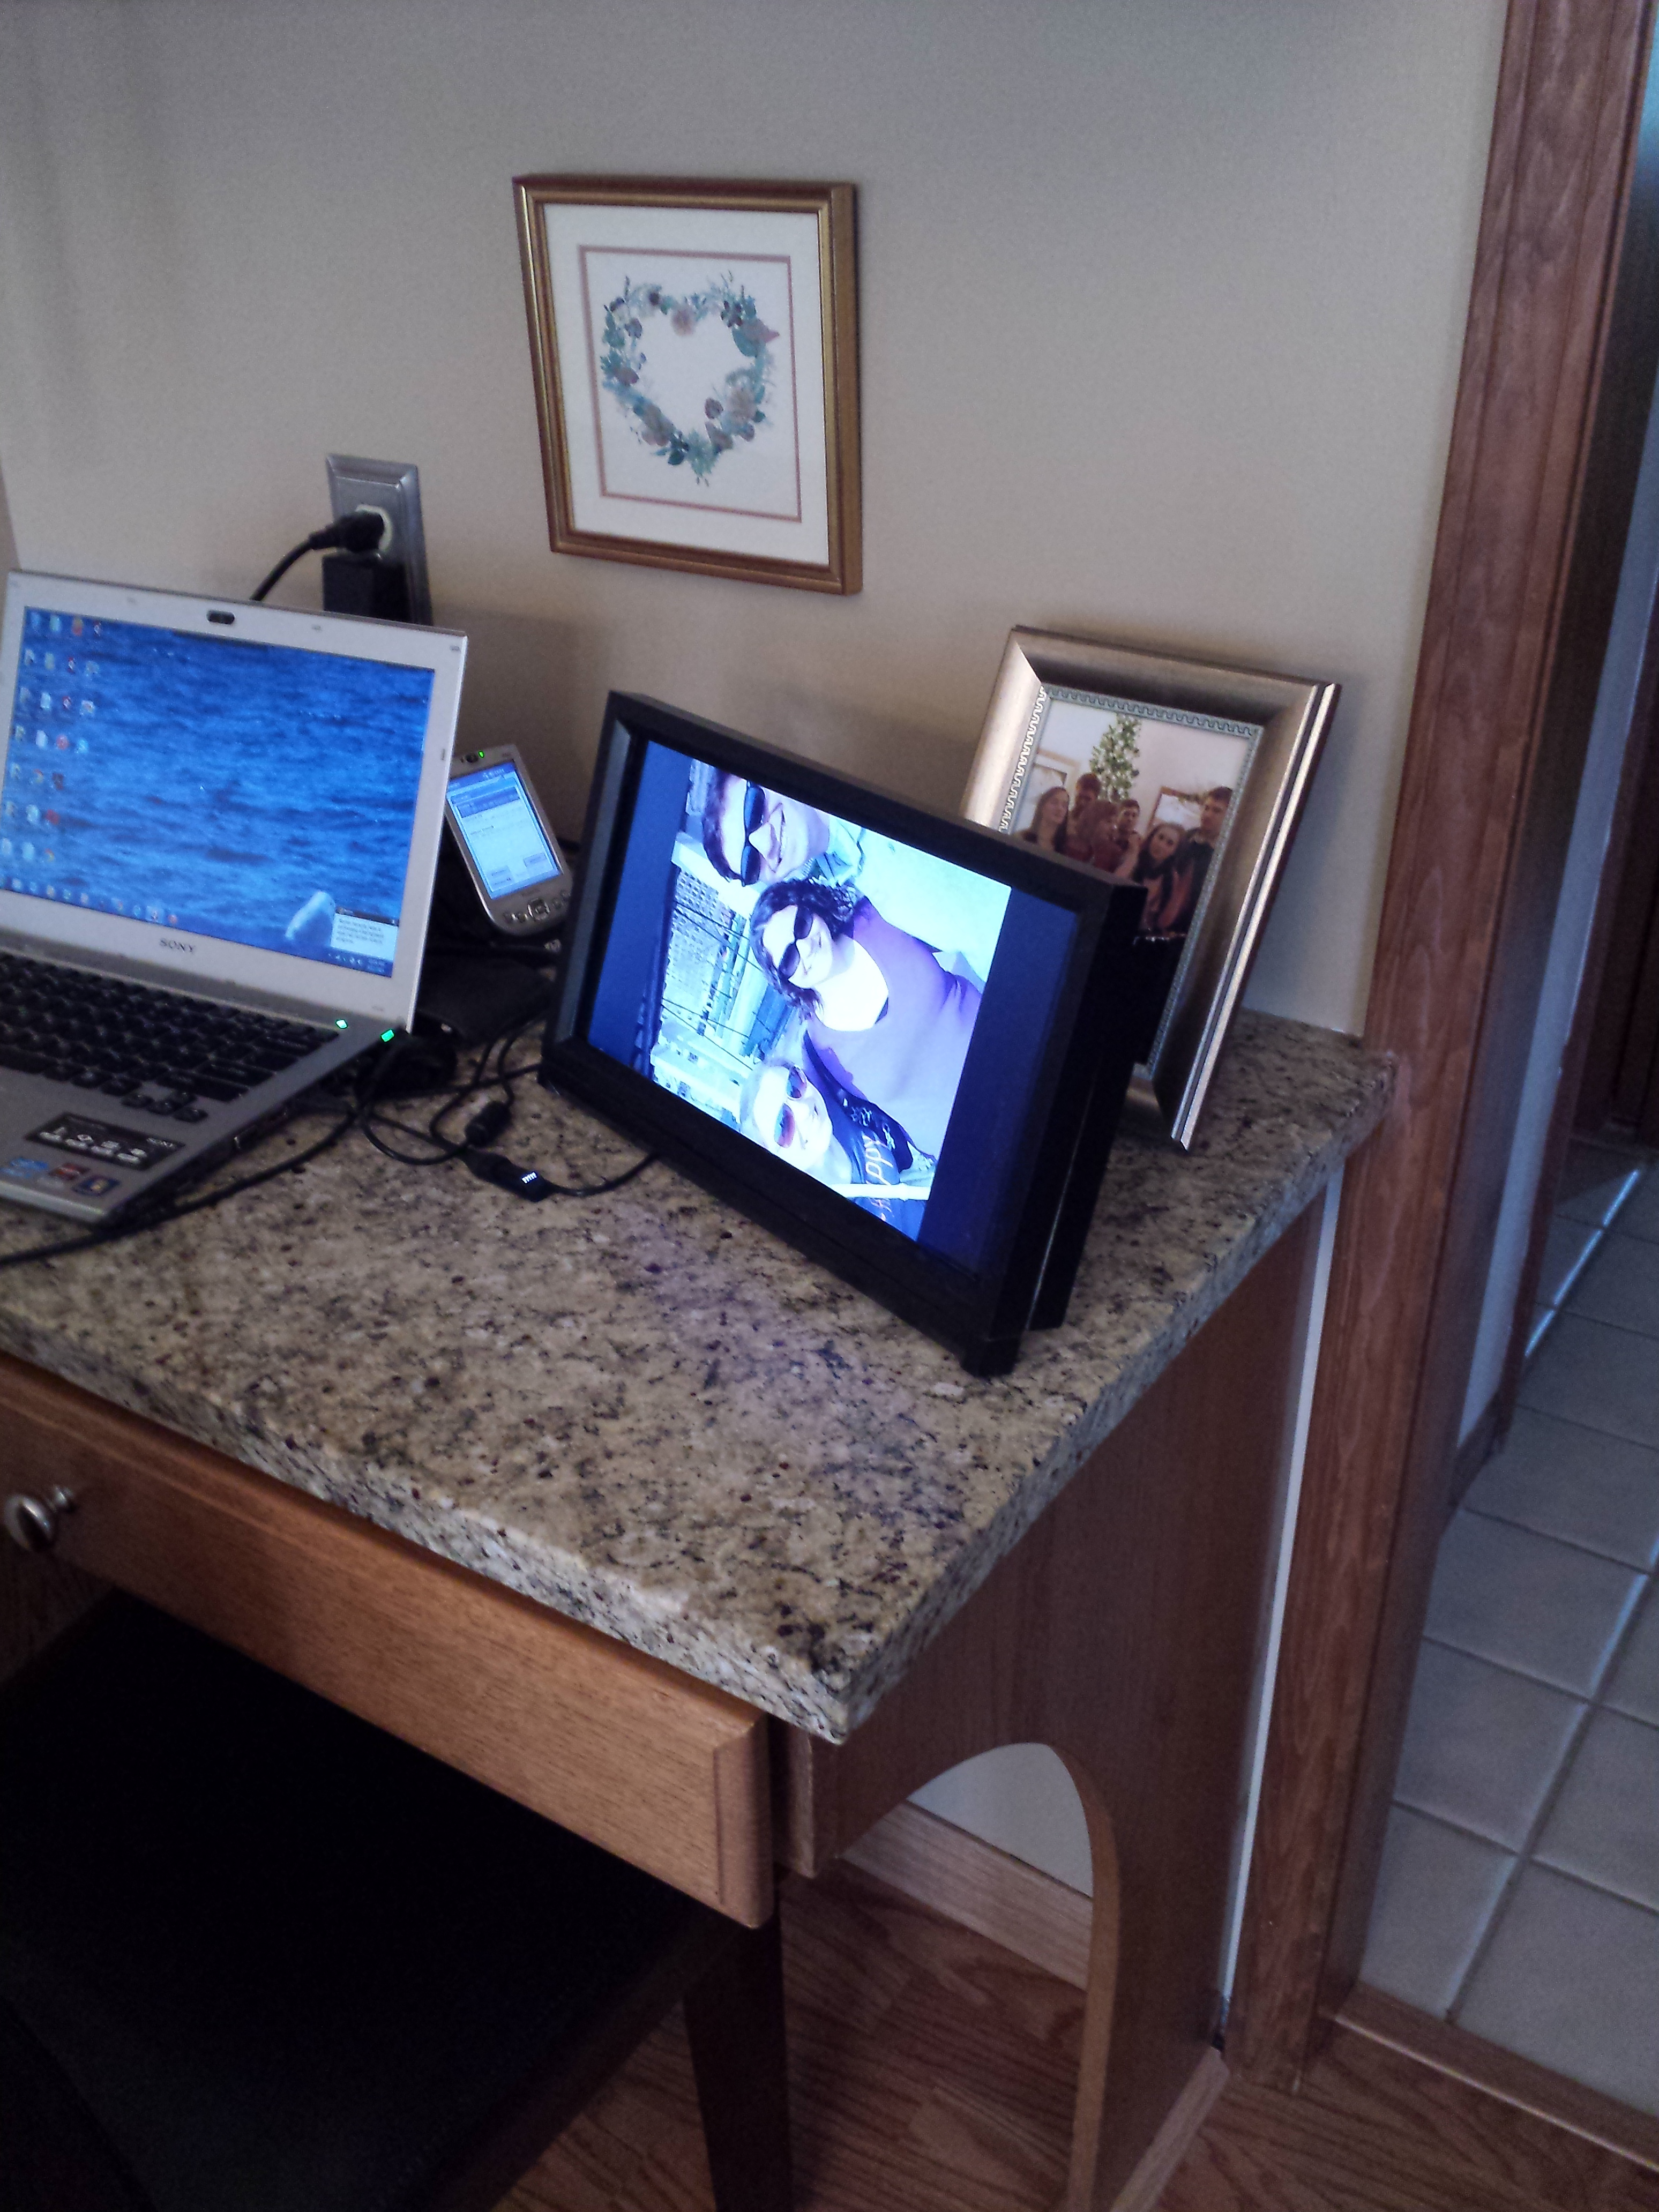
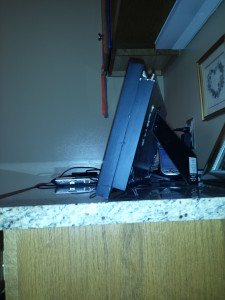
When the calendar rolls around to late April I start to get that good old fashioned knot in my stomach that tells me Mother’s Day is right around the corner. I’ve never been great at coming up with good gift ideas for anyone, and even less so for my mom. My brother and I were talking and we hit on the winner when we began to talk about possible Raspberry Pi ideas. An internet connected digital photoframe is a perfect Mother’s Day gift given our family situation at this point. My sister, brother, and I each live between 1.5 and 5 hours away from our hometown. While my Mom is probably happy we’re not still living at home, she also likes to know what’s going on in our lives.
The idea is fairly simple: take a recycled screen from an old laptop, put it in a picture frame, and connect it to the internet in a way which allows my siblings and I to upload pictures to it from our phones whenever we’re doing something interesting. The Raspberry Pi will serve as the brains of the operation with a little Python script which will interact with Flickr to download our pictures.
Parts list:
Recycled Laptop Screen
Controller Board (to use with the Laptop Screen)
Raspberry Pi
Wifi Dongle
Micro USB Charger
Micro SD Card
HDMI Cable
Picture Frame
That’s it! The only tools I really used were a dremel tool to make cutouts for the HDMI and power cables to connect to the new controller board and a hot glue gun to mount the board itself to the frame.
There are many parts to this project, and I’ll start with the most technically complicated: the Raspberry Pi and Flickr integration. The first step to this is to set up the Raspberry Pi itself. I followed Scott Kildall’s guide to setting up the Raspberry Pi, which is the best I’ve been able to find. Once that is all set up, let’s go through the Python Script.
Python with Flickr
I’ve found that the best way to begin a project like this is to break it down into it’s smallest parts. In this case we first want our Python script to get a list of photos we’d like to display. Flickr offers a good way to organize photos into “Albums”. The way I’ve chosen to set it up is to have one album that is designated for photos which should show up on the frame. In order to run use Flickr with Python, you’ll have to download the Flickr Api. You can do this by opening your Python directory in terminal, and type pip install flickrapi.
I’ll link to my complete Python script later in this post so I won’t go over each part. I will go over using the Flickr Api to get a list of the file names available in a given photoset. The code is as follows:
import flickrapi
#User credentials/set specifiers

FLICKR_KEY = "xxxxxxxxxxxxxxxxxxxxxxxxxxxxxxxx" #Your Flickr Key here

FLICKR_SECRET = "xxxxxxxxxxxxxxxx" #Your Flickr Secret here

USER_ID = "xxxxxxxxxxxxx" #Your USER ID

SET_ID = "xxxxxxxxxxxxxxxxx" #Your Set ID
#Authenticating with Flickr
flickr = flickrapi.FlickrAPI(FLICKR_KEY, FLICKR_SECRET)
url = 'url_o'
urlList = []
update = False
count = 0
#photoList is a "Root Element" type in an element tree.
photoList = flickr.photosets.getPhotos(api_key=key, photoset_id=setID, user_id=userID, extras=url)
Basically what this is doing is creating a “Flickr” type object when we use flickr = flickrapi.FlickrAPI(FLICKR_KEY, FLICKR_SECRET). We can use the flickr variable from here on out and use methods included in the flickrapi on it. Next with photolist = flickr.photosets.getPhotos(api_key=key, photosets_id=setID, user_id=userID, extras=url) we are creating a “Root Element” with a lot of information about the photos in the specified set.
Next we’ll go through the photos in the photoList variable.
for photoSet in photoList:

#Going through photo objects in photoSet, adding them to urlList.

     for photo in photoSet:

          urlString = str(photo.get('url_o'))

          urlList.append(urlString)

          count += 1
I originally set up urlList as an empty list, here we are populating the list with the original url with the photo.get('url_o') piece. I’m also keeping track of how many photos are in the set with the count variable.
Now that we have a list of urls, it’s just a matter of putting them into a folder on the Raspberry Pi and running a slideshow of the photos in that folder. The rest of this process is detailed beautifully in this Instructable from user Beaconsfield. It has great information on the slideshow package Feh and on using crontab to schedule the Python script. I have mine running every minute to keep the pictures as up to date as possible.
Conclusion
Next you’ll have to do the actual hardware for the project. For this I followed the Instructable linked above, but also this Instructable for turning an old LCD screen into an external monitor, which is essentially what I did. This is not a complicated process but it does take some time and patience depending on your LCD model and the frame you have. I actually bought a couple of frames to chop up and combine for my purposes.
Here is my complete code. You’ll have to fill in the code for your own keys and user IDs. My plans for future updates include a ranking system in which more recent photos are shown more often. The biggest hurdle is to make sure that my siblings and I continue to upload photos to the account. I may configure the RPi to send a text reminding us to do so.
I hope my Mom enjoys the frame as much as I enjoyed building it. Don’t hesitate to contact me at osentand(at)gmail.com should you have any questions about any steps involved in the process.


